
vue2 引入 element-UI 并替换主题
🚀快速使用
通过npm将element包安装入node_Modules
首先 cd到项目目录,使用npm命令将element包安装
npm install element-ui -S
在/src/main.js中引入element的js文件和css文件
在js中新增以下代码, 将上一步安装的包导入到程序中
import ElementUI from 'element-ui';
import 'element-ui/lib/theme-chalk/index.css';
Vue.use(ElementUI);
🎉恭喜你 可以正常使用了
我们来APP.vue中写一段程序康康
<template>
  <div id="app">
    <el-row>
      <el-button>默认按钮</el-button>
      <el-button type="primary">主要按钮</el-button>
      <el-button type="success">成功按钮</el-button>
      <el-button type="info">信息按钮</el-button>
      <el-button type="warning">警告按钮</el-button>
      <el-button type="danger">危险按钮</el-button>
    </el-row>

    <el-row>
      <el-button plain>朴素按钮</el-button>
      <el-button type="primary" plain>主要按钮</el-button>
      <el-button type="success" plain>成功按钮</el-button>
      <el-button type="info" plain>信息按钮</el-button>
      <el-button type="warning" plain>警告按钮</el-button>
      <el-button type="danger" plain>危险按钮</el-button>
    </el-row>
  </div>
</template>
ok, 成功导入

接下来我们来配置自定义主题
🛠️自定义主题
自定义
首先, 进入element-UI官方自定义通道
在里面自定义好需要的颜色
下载,解压及导入
下载 解压
在上一步中, 我们成功的定义了主题, 现在我们点击右上方的下载, 将其下载下来
然后我们将其解压, 其中有一个style文件夹, 里面包含一个config文件以及theme文件夹
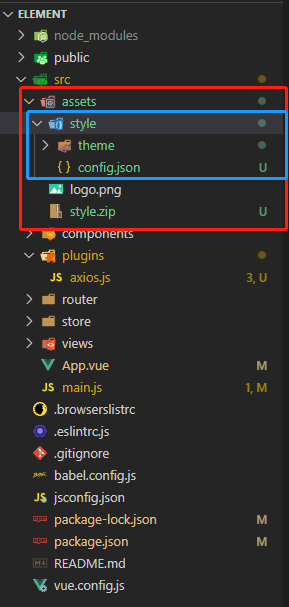
我们将style文件夹拷贝至asstes中 形成如下文件结构
导入
接下来我们在main.js中导入他
首先, 将我们在快速上手中引入的原css 引用删除, 并重新链接至我们上一步导入的theme
import './assets/style/theme/index.css'
在现在, 你的代码结构应该是这样的
import Vue from 'vue'
//import './plugins/axios'
import App from './App.vue'
import router from './router'
import store from './store'
import ElementUI from 'element-ui';
// import 'element-ui/lib/theme-chalk/index.css';
import './assets/style/theme/index.css'

Vue.use(ElementUI);

Vue.config.productionTip = false

new Vue({
  router,
  store,
  render: h => h(App)
}).$mount('#app')
现在我们再来观察我们的网页
他应该正常的显示我们自定义的颜色了

版权声明:
本站所有文章除特别声明外,均采用 CC BY-NC-SA 4.0 许可协议。转载请注明来自
VYBFi的小站!
喜欢就支持一下吧
打赏
微信
支付宝
 微信
微信
 支付宝
支付宝